 Studio
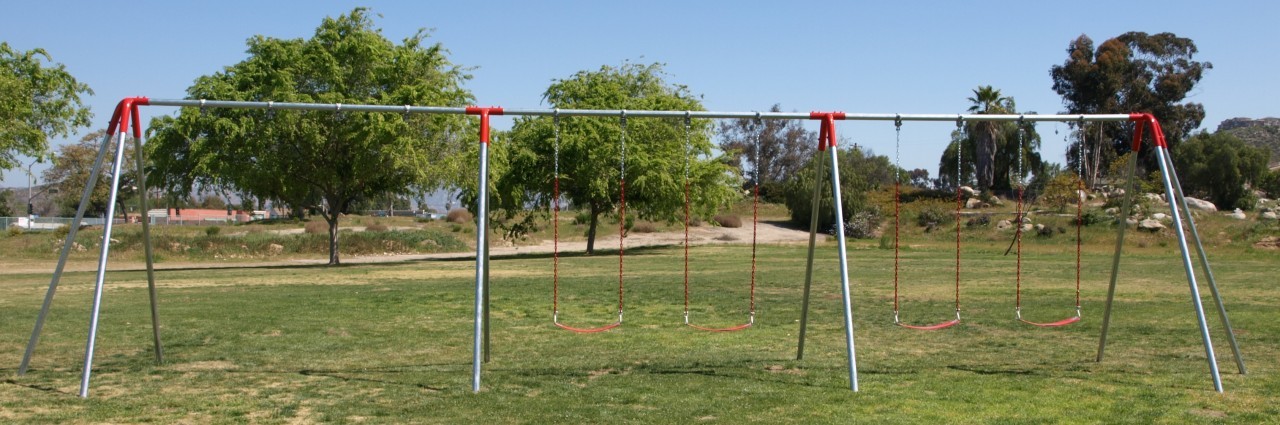
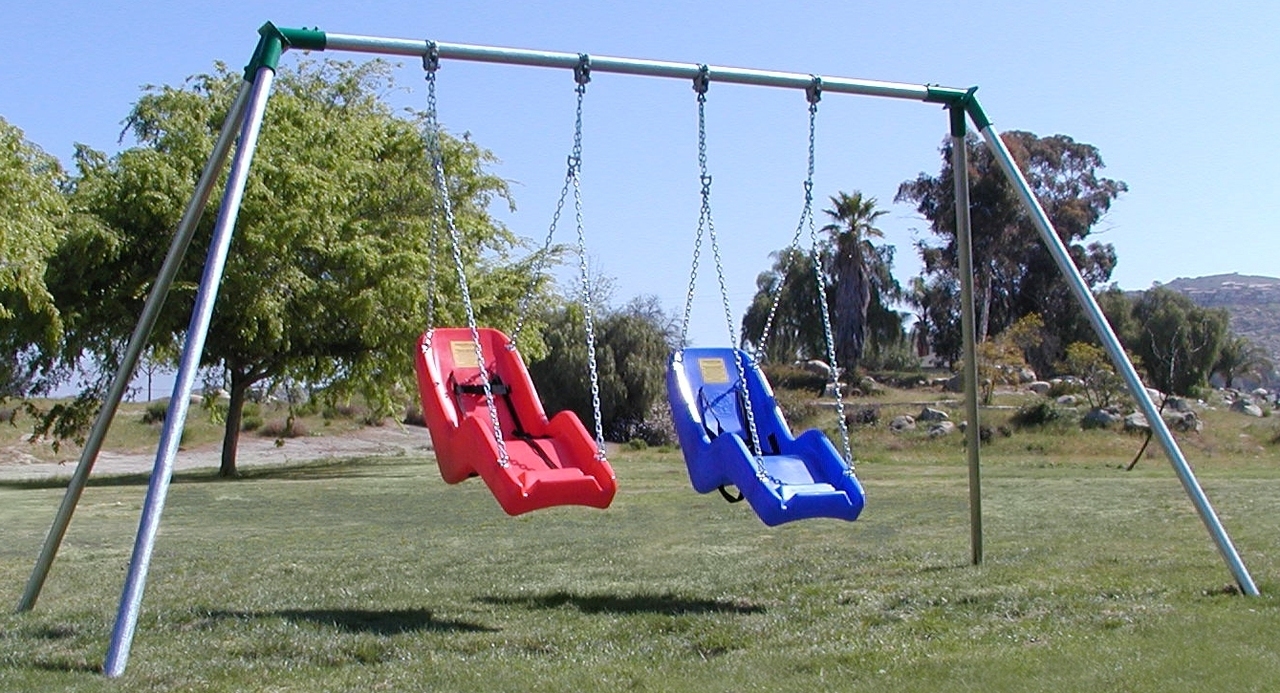
8 Tall Swing Set - 1 Bay - 2 ADA Swing Seats
Finish: Powder Coat
Documents
Product Details
| Model number | S82Ac |
|---|
Description
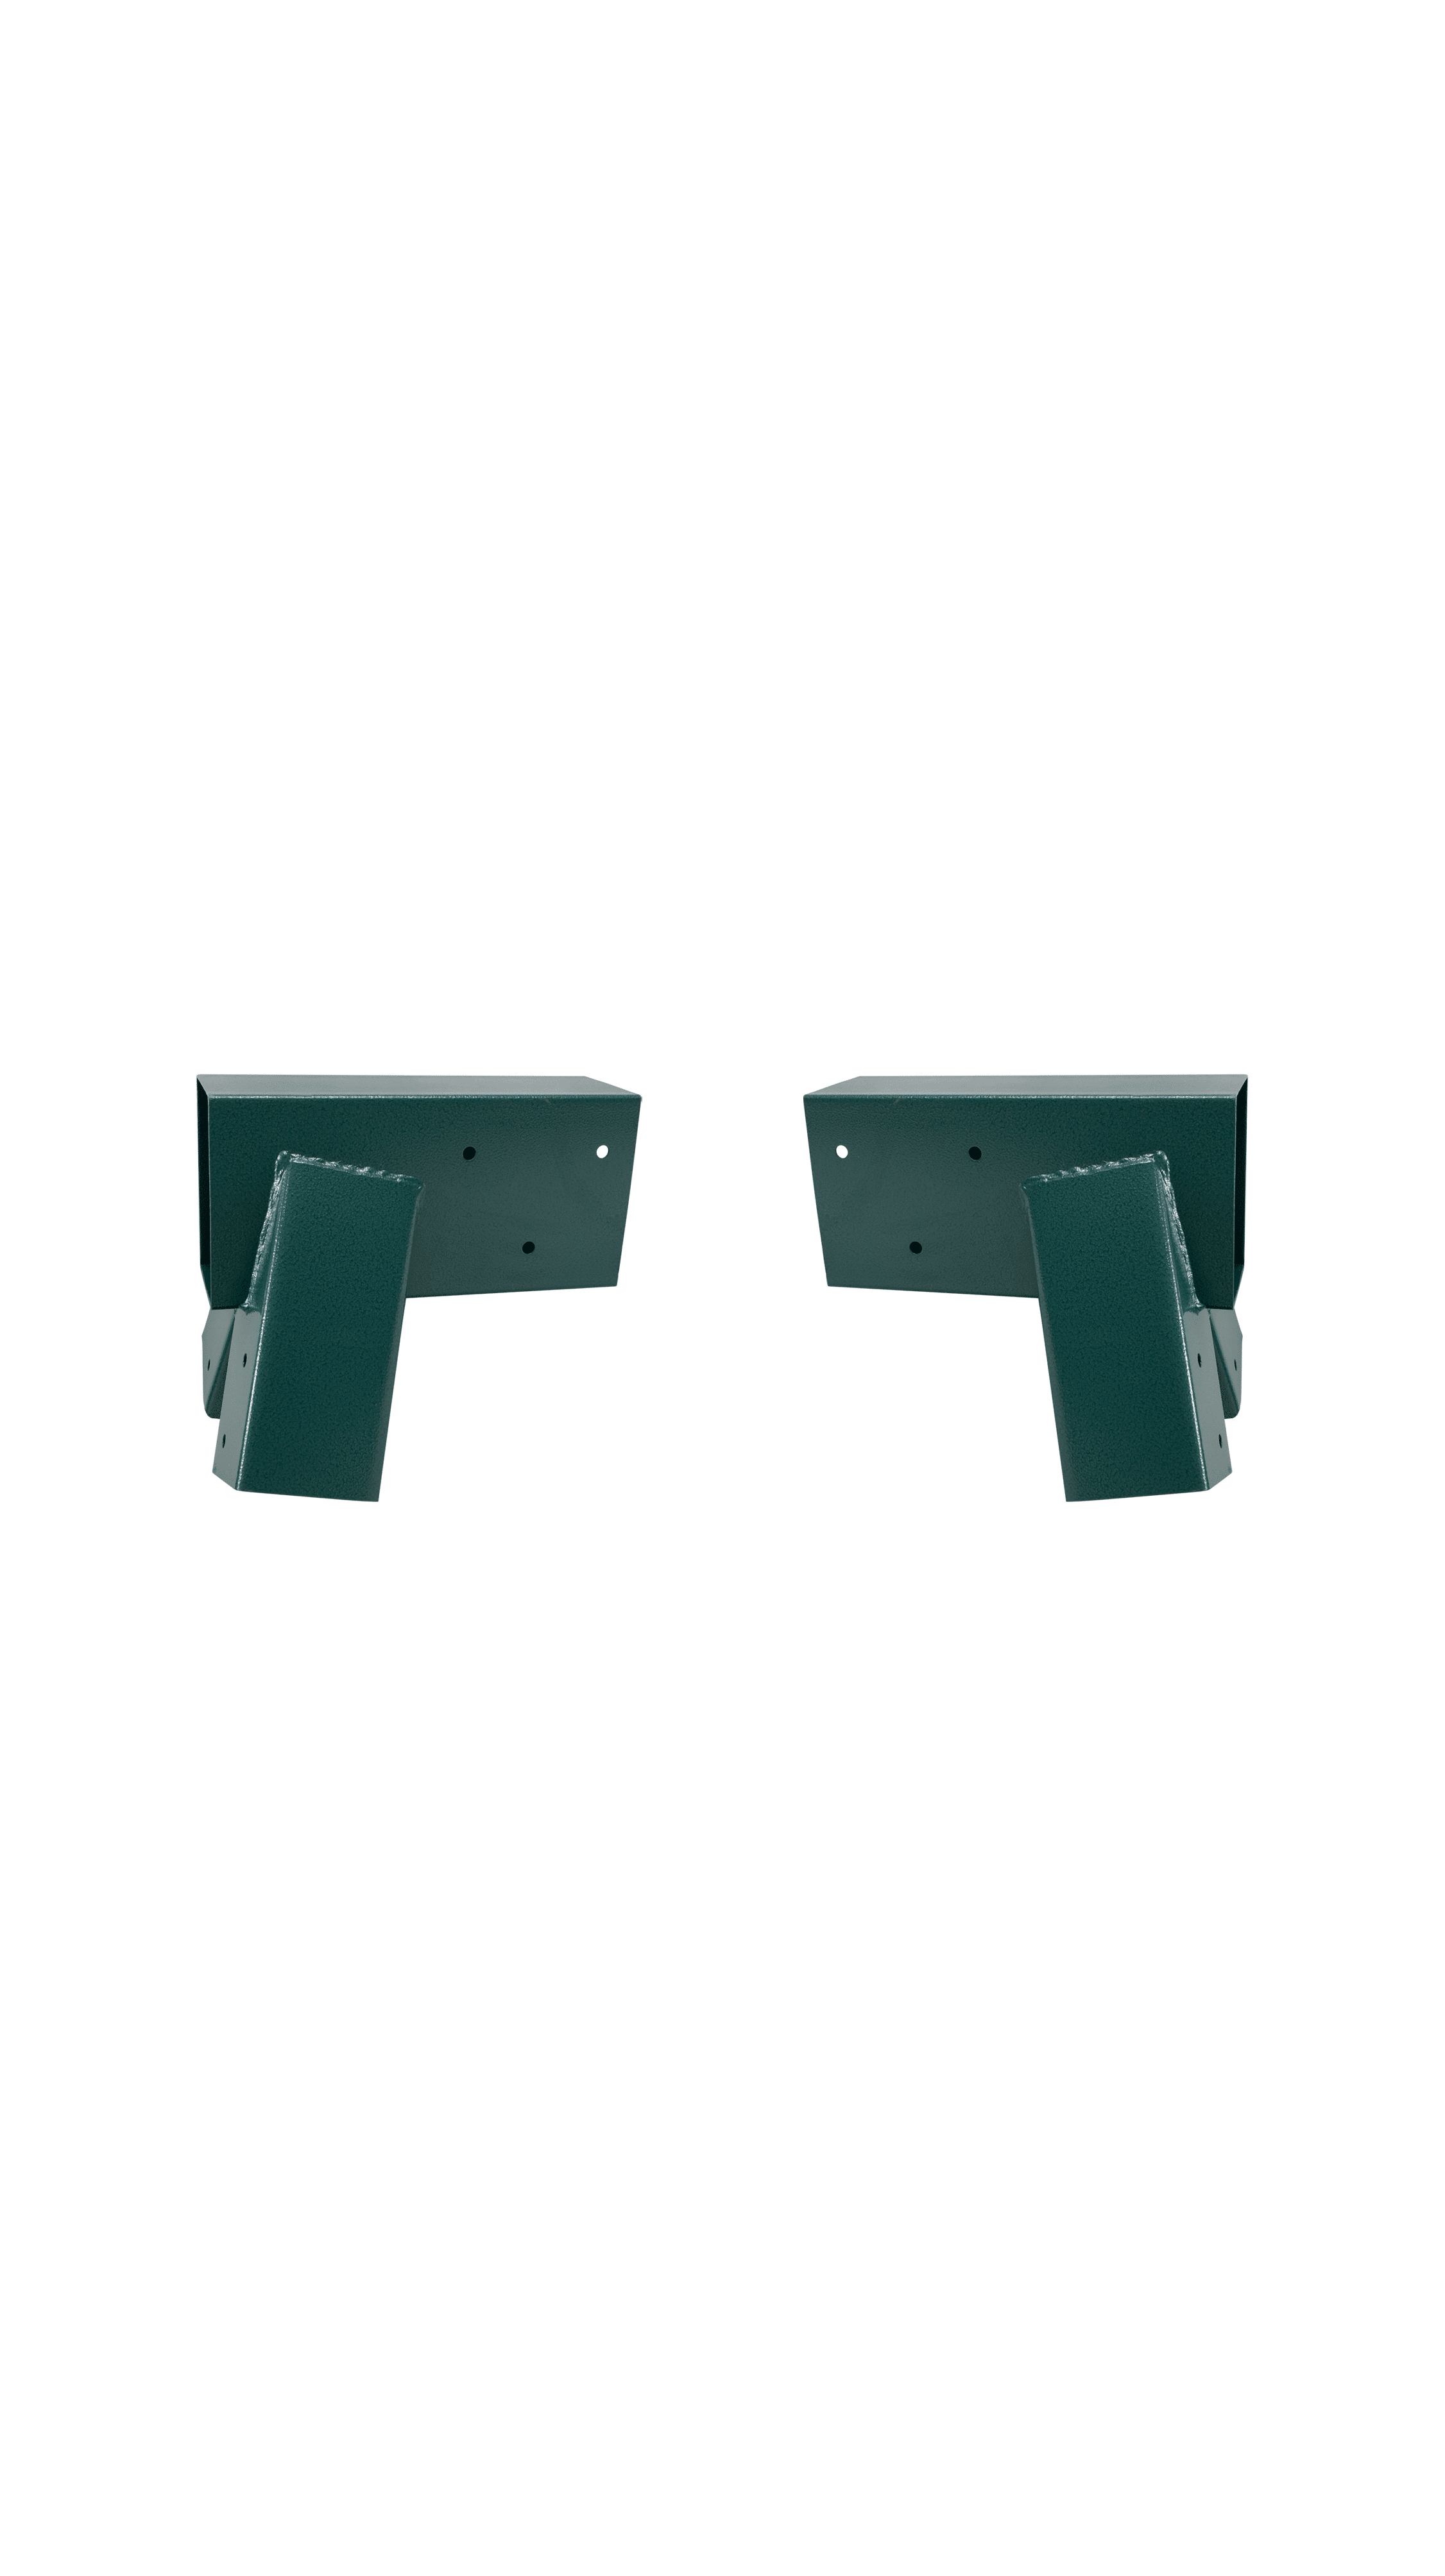
Our heavy-duty swing set is built to last and designed for the enjoyment and safety of children up to 12 years old, meeting industry standards set forth by ASTM and CPSC guidelines. As long as the installation instructions are followed, this set will exceed expectations. While we can t give an exact weight limit due to factors such as installation method and ground type, rest assured that this set is built to withstand the demands of active kids. This in-ground frame is the perfect choice for a standard 8-foot high set. Choose your favorite colors for the End Frame Fittings and two ADA swings to make it truly your own. With proper care and use, this product should provide years of fun in a variety of weather conditions. Keep in mind that harsher conditions may require replacement sooner. TOOLS AND PARTS NEEDED: Ladder, ¾” wrench, Ratchet socket wrench, Tape measure, A5750 supplied Allen wrench for shackles, and 6mm Allen wrench for set screws. Stakes for marking holes. Shovel, Bricks, Gravel, Wheelbarrow for mixing concrete, Water, Concrete, Trowel, Level, Warning signs. Protective surfacing according to ASTM F1292 for a fall height of 8’. PARTS INCLUDED ARE: A2925 – 2 blue or green A1300 – 2 black, blue, green, red or yellow A2014 – 4 A7500 – 4 – 6’ / 4 – 2.5’ A5700 – 4 Pipe Legs A – B - 11.5’ - 4 A5730 – 4 Top Rail 10’ - 1 A5750 – 1 MEASUREMENTS FOR SWING FRAME: The legs are 203” apart lengthwise at ground level. The legs are 93” wide at ground level. Below ground, the legs are 220” lengthwise and the width below ground is 115”. Height is 8’ **INSTALLATION, SAFE USE & MAINTENANCE INSTRUCTIONS** IMPORTANT: To keep children safe from harm, follow these precautions and instructions when installing, using, or maintaining this playground equipment. You can also call us at 1-800-227-7529 for more information or see https://www.cpsc.gov/cpscpub/pubs/324.pdf . Installation: Read all instructions before attempting assembly. To determine proper use zones needed for swing set consult Figure 23, Table 7 for commercial swing sets if upgrading to a commercial swing. For residential sets see spacing dimensions on Page 4 of the Outdoor Home Playground Safety Handbook. Install swing set where a child can easily be supervised. Do not install playground equipment over concrete, asphalt, or any other hard surface. A fall onto a hard surface can result in serious injury to the equipment user. Grass and dirt are not considered protective surfacing because wear and environmental factors can reduce their shock absorbing effectiveness. Carpeting and thin mats are generally not adequate protective surfacing. Install your play equipment on level ground with adequate surfacing and anchoring. Use proper hardware, and tighten all connections. Lay out all the pipes and end frame fittings on the ground about two feet from where you have determined you want to place your swing set. Do not dig holes until frame is assembled, as there may be some variance in leg spacing. Slide the two end frame fittings on each end of the top pole with the two legs of the end frame fittings, pointing down. You may have to force pipes into end pipe openings. Tighten the two included set screws on the top of each of the end frame fitting, using the 6mm Allen wrench. Attach swing hangers. The hangers should be spaced 2 ft from the end of the set and 2 ft apart. Place the two halves of the hanger around the top rail of the swing set. The swinging shackle pendulum will be facing downwards. The side bolts are placed with the heads on the top of the hanger and the threads facing downwards with the nuts on the bottom. Using a ratchet socket wrench and with no more than 50 lbs. of torque, tighten the side bolts. After tightening, the threads should not be showing more than two threads past the nut, and the hanger should fit snuggly on the pipe. Grease or oil bushings if
Sustainability